Turn your songs into sheet music
ScoreCloud Studio – The most Intelligent Music Notation Software
Download ScoreCloud Studio
Sing or play to turn your songs into sheet music. As simple as that!
Create scores from recording single instrument audio or by playing and importing MIDI.

(or get the Windows version)

(or get the Mac version)
Audio recognition
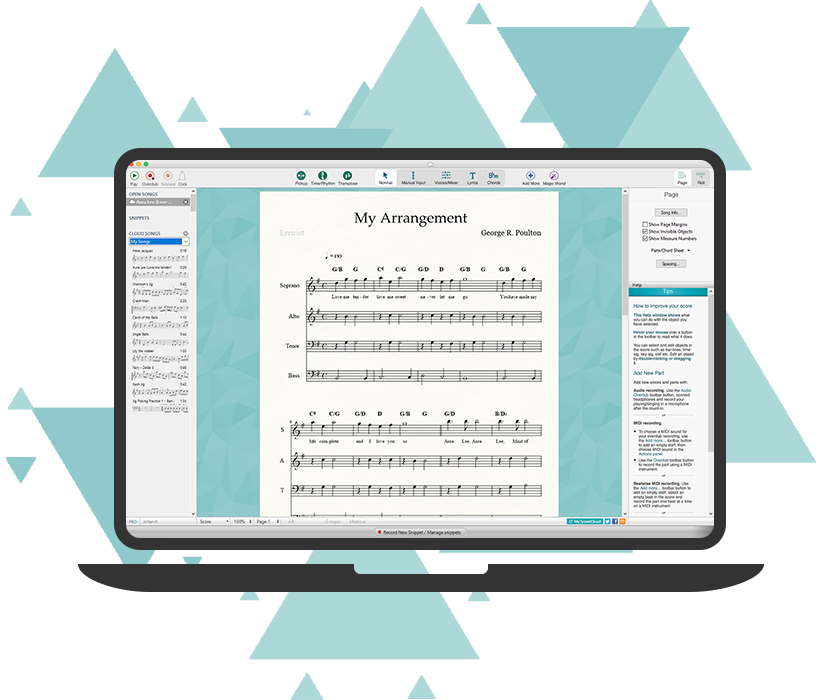
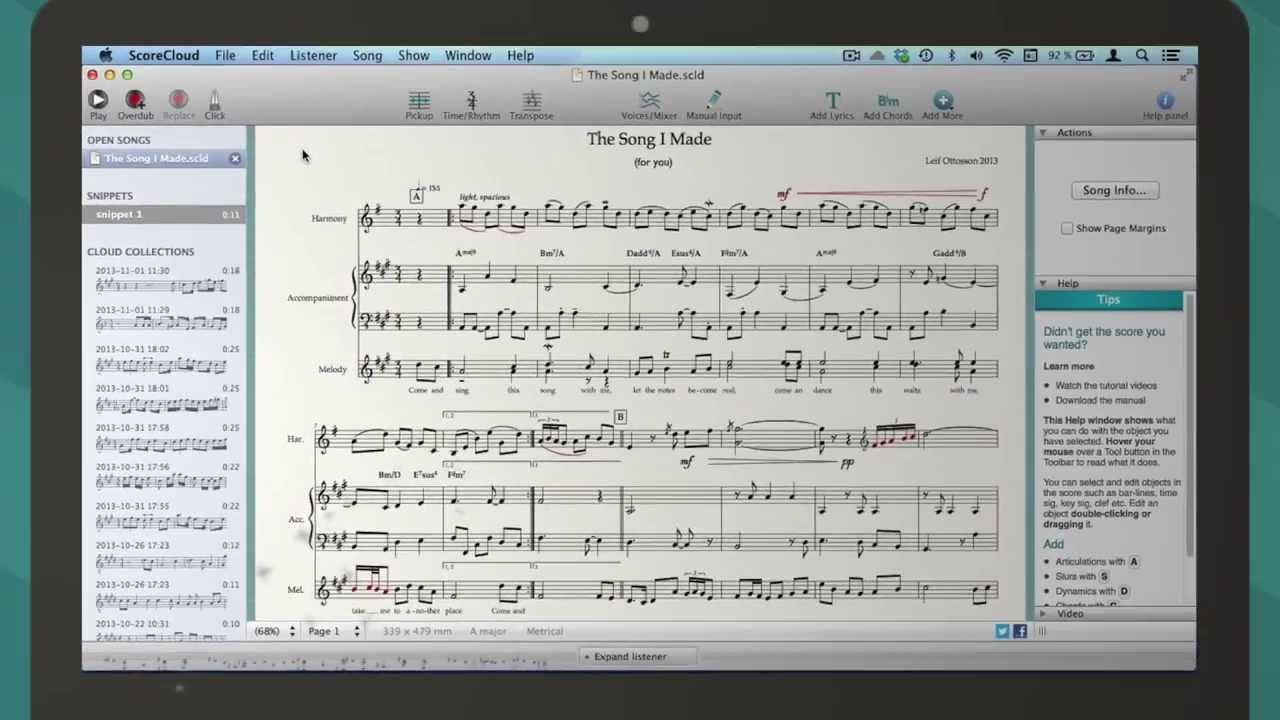
It’s never been easier to write and arrange music. Just connect your MIDI keyboard or plug in a microphone to the ScoreCloud Studio advanced polyphonic audio recognition technology, and start playing.
Insert titles, add lyrics and chords, and create a soundtrack with powerful tools that are as easy as drag and drop.
Whether you are a beginner or pro, teacher or student, singer/songwriter or orchestral composer, you can make, arrange and manage your songs with ScoreCloud Studio music software.
Universal language
Music is a truly universal language, and musical notation is its alphabet. Through notation, we communicate our musical ideas, regardless of their origin, across the planet. We feel that the time it takes to go from musical idea to musical notation should be as short as possible.
Many have some understanding of reading music notation, but to communicate with music, you also need to be able to write it. With ScoreCloud, you can begin writing music without knowing any music theory at all.
ScoreCloud provides you with the ultimate notation service, correctly analysing and notating your music to match what you’ve expressed, even with no preconceived notion of the style you intended.

“Like Google Translate for Music”
Music notation software ideal for musicians, students, teachers, choirs and bands as well as composers and arrangers.
Doesn’t this already exist?
Not really…
With ScoreCloud Studio, notation appears automatically when you play. You need no pre-sets, no click-track, nothing! And our editing and arrangement tools are very intuitive to use, and require no training.
Twenty years of research have resulted in a product that understands what you play on a musical level. This makes it possible for you to notate music without already being a pro.
Sounds too good to be true? Try it and you’ll see!
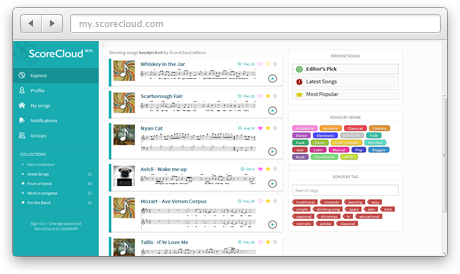
Share your music
If you want to keep your music to yourself, you can! But if you play in a band, sing in a choir, or just want input from other musicians, you can easily choose what to share.
Have you been using Dropbox to distribute sheet music? So have we! But you can’t listen to the music, and as a teacher or band leader, keeping track of versions can be a real headache.
Yet another cloud storage?
No, this is a full concept. Built for music, by musicians.
When you share your music in ScoreCloud, your recipients can instantly listen to the piece in the browser. When you edit an arrangement in ScoreCloud Studio, the changes are visible on all devices.
If you’re a band looking for music to play, or a songwriter longing to get your songs sung, we want to create a hub to bring you together. A place where you can find inspiration, comment on others and get feedback on your creation.
ScoreCloud Upgrades
ScoreCloud Studio for PC & Mac is completely free to download so you can get started right away, with notation from audio and cloud sync included.
For the paid plans, we offer a free trial that gives full access to all advanced features when signing up for any plan!